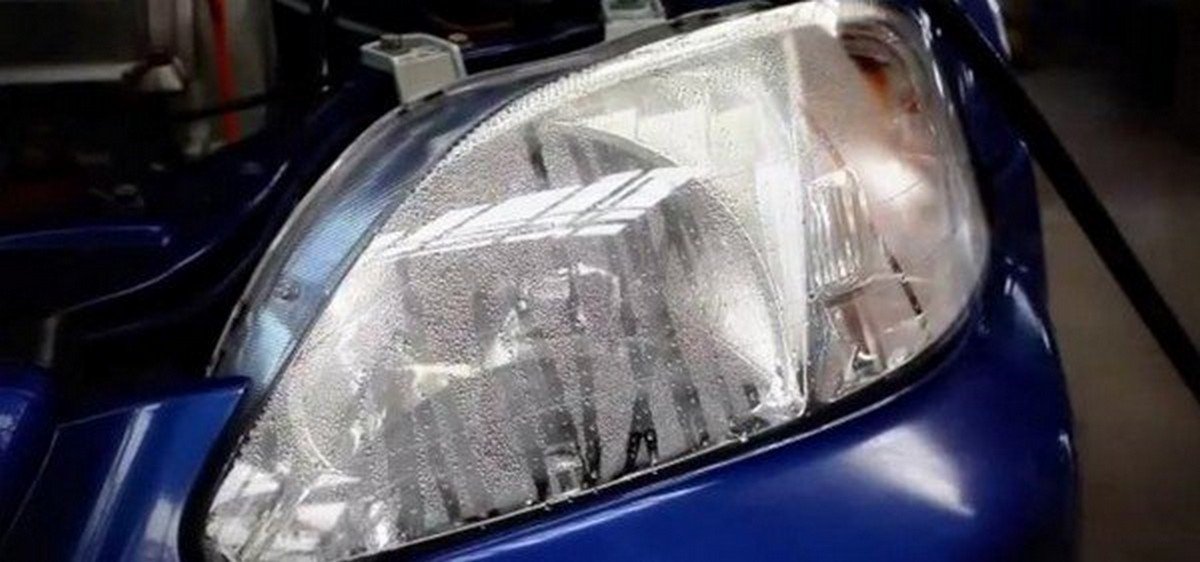
Fastest way to remove moisture from your headlights

by Vivaan Khatri | 22/08/2018
Share this post:
Sometimes we forget about headlights but they really need taking care of, especially when they are affected by moisture. Read on learn how to get rid of moisture out of your headlights and prevent it.

Headlights are simple but important parts of your cars. In case it gets dark so soon and all the street lights haven’t been turned on yet, headlights will be your lifesaver, especially when you carry your wife and kids. It is enough for us to understand the significance of headlights. But what if it is affected by water or moisture? You can put yourself and your beloved ones in danger.

Actually, this is a problem that any cars’ owners must have encountered once, and it’s really easy to fix. Unless you have hemeralopia, which will not allow you to see the bright light, you will have to fix it. 

Moisture is easy come, easy go. It usually doesn’t last for too long, just turn on the headlights and it will disappear. However, it can sometimes get devious and mess with you by getting thicker and thicker. At that point, you need to show who’s the boss and fix that problem for good. This article will give you some necessary tools and steps that will instruct how to do it right.

How to fix a headlight with Water or moisture in it

1. What to prepare to remove moisture from your headlights

First, you will need help from these tools:

  1. A screwdriver or a ratchet and a socket: It depends on your car types and manufacturing year. If your car is an old model, a good, solid screwdriver is good enough. In case your car is a new model, a ratchet, and a socket are recommended.

  2. Lint-free cloth: You need to use a lint-free cloth to eliminate the moisture inside your headlights and leave no lint. Lint can make your headlights look dirty and ugly.

  3. Silica gel pack: It is a moisture-absorbing composition. You can buy it from any markets or stores. Its use is for prevention rather than fixing.

  4. New headlight sealant: Don’t be so clingy and buy yourself some if moisture becomes a frequent problem. It will cover up your headlights and fill in all the cracks that let those disturbing moisture and water in.

2. How to remove moisture from your headlights

When you finally gather all these tools, you can get into business and deal with the moisture. Here is the process:

Step 1: Remove headlights

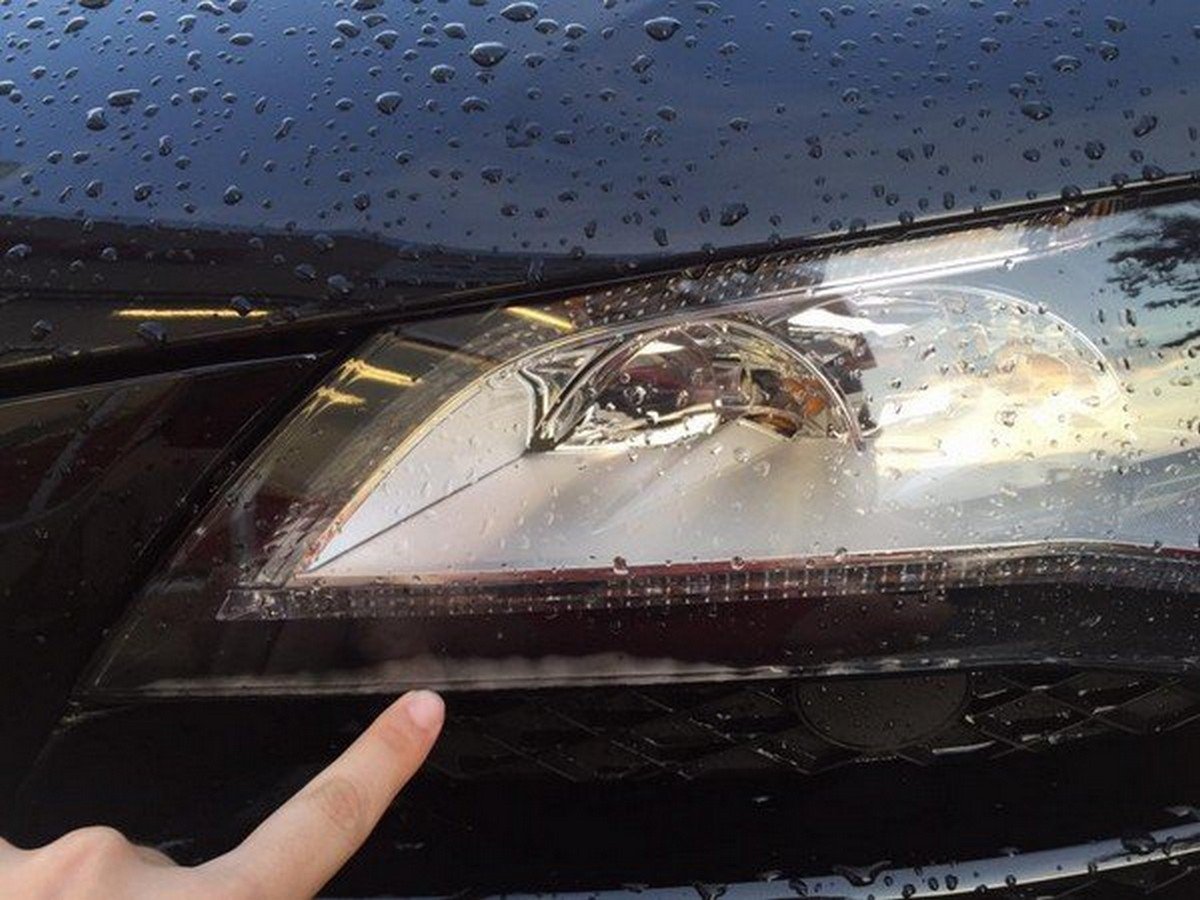
finger point to moisture headlight

Different headlights require different ways to open

Of course, you need to take it out first. There are many types of cars from many brands, and each type has a different way to open up the headlights. So, you need to know what your cars’ model and brand to figure out how to correctly remove the headlights. Usually, headlight has 3 screws to attach them into the car. You just need to locate where these screws are then used your screw/ratchet to wrench it out. Afterwards, you gently take out the headlights. 

Step 2: Wipe out the moisture

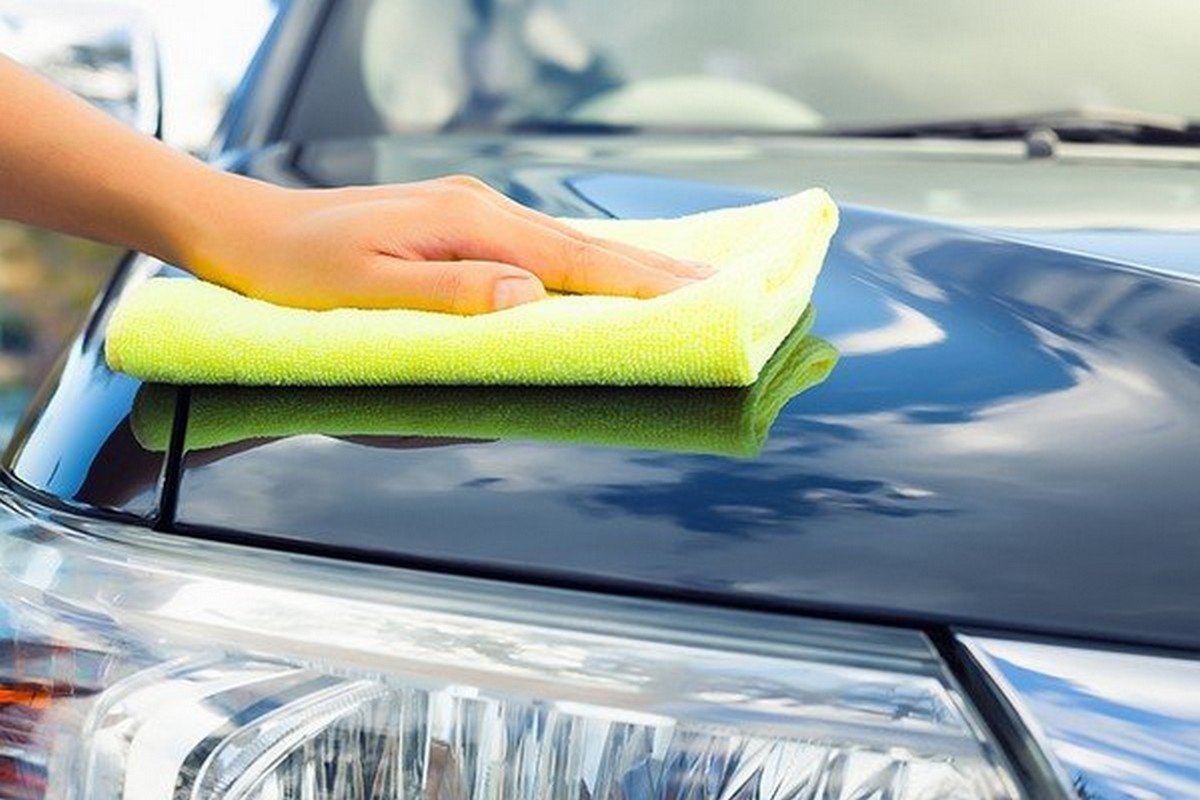
Once removing the headlights, you need to check the area of condensation, it’s not so hard to find. Afterwards, you use your lint-free cloth to dab on the glass or completely wipe out the moisture from every condensed part. Be cautious, don’t do it too hard, it can crack the glass and let more moisture in. You need to carefully check all the corners to see if there is any moisture left.

using lint-free cloth to clean car

A lint-free cloth is very effective to wipe out the moisture

Step 3: Put the silica gel pack in

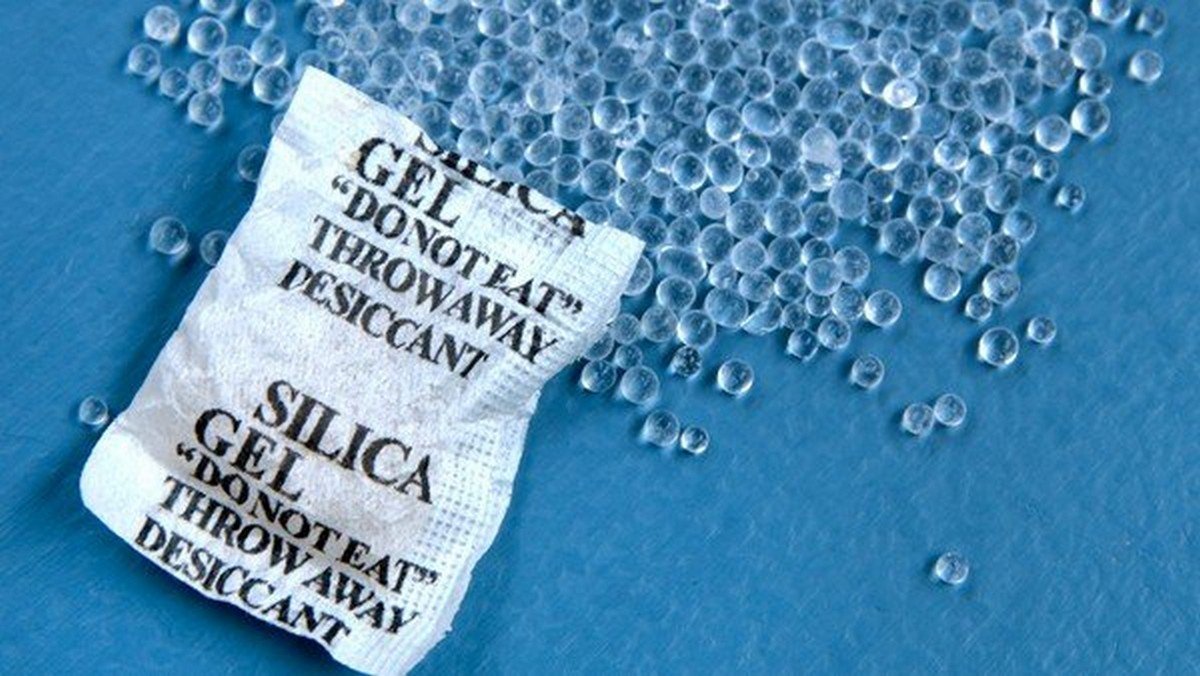
If you are sure that your headlights are completely moisture-free, you can now take the preventive step by using silica gel packs. This packet is a cheap and long-term solution for your condensation problem. All you need to do is put them inside your headlights and they will do their job. However, this step also requires a particular technique to do it right. These silica gel can get stuck in the bulbs when you drive on the bumpy road and block the light. You don’t want it to happen, right? So, to make sure they won’t move around, you should use tape to stick them down.

Silica gel pack ơpens

Silica gel packs are usually available at any markets or stores

Step 4: Install new headlight sealants

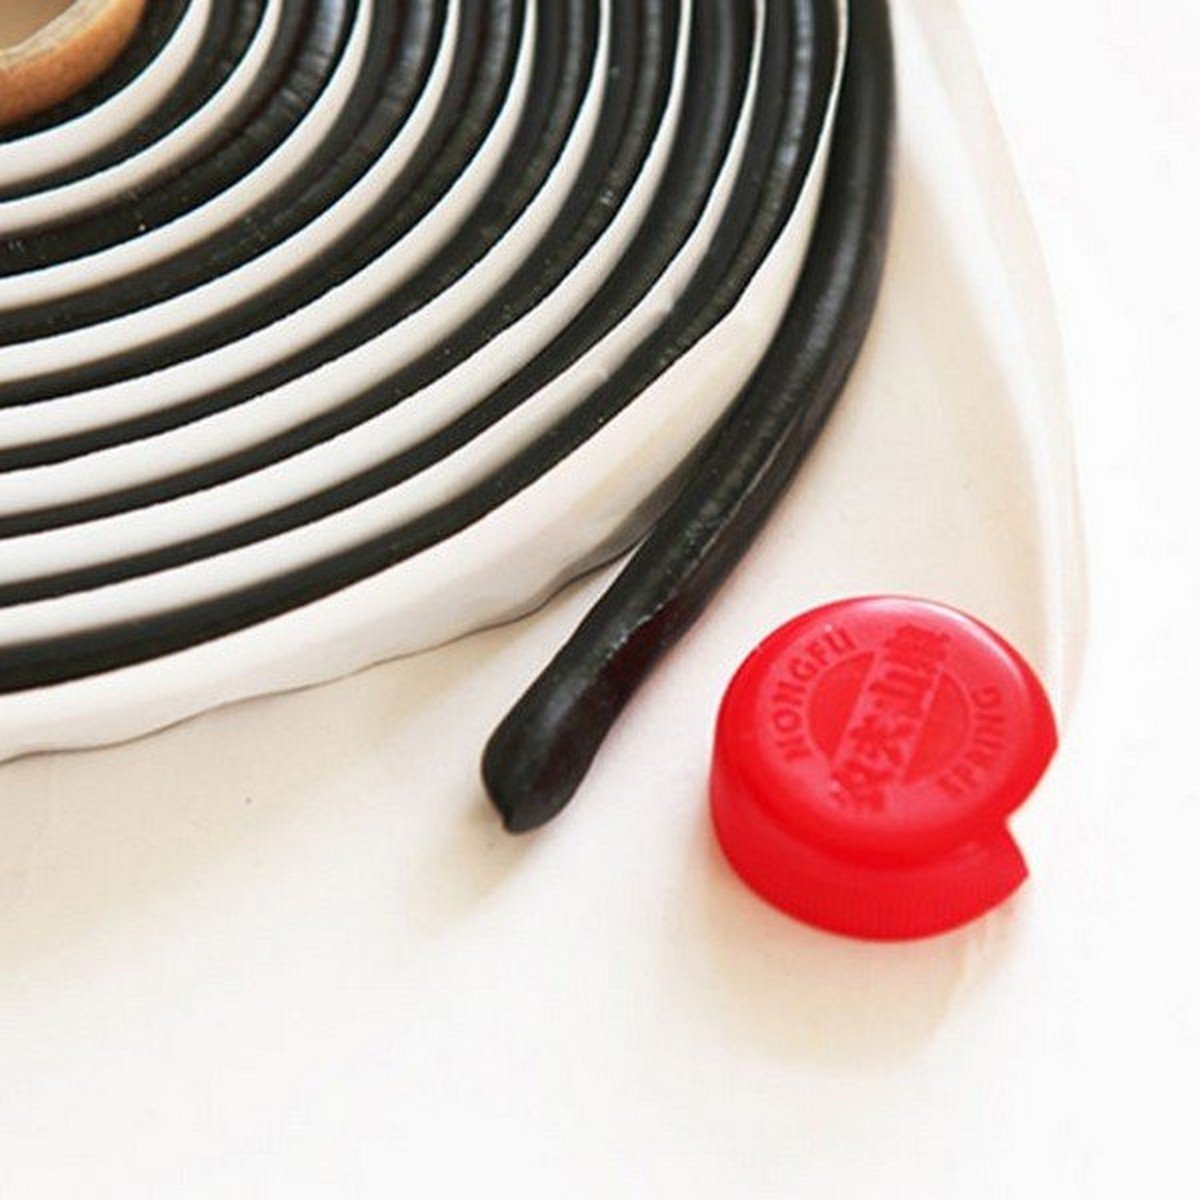
This is a bonus step because it depends on the frequency of your issue. If it doesn’t usually happen, you can stop at step 3. However, if it constantly occurs, you should consider using a seal to protect your headlights. They can help you solve this problem to the core by sealing all the cracks and holes that moisture can use to access. You need to take out the headlight mask, take a sufficient amount of sealant, apply it to the frame of your headlights. After that, you insert the mask back on your headlights, press to make it stick harder. There you go, it’s done!

sealant for restoring headlights

A sealant can help fill up all the cracks and holes

Step 5: Re-install the headlights  

After finishing all those steps, it’s time to put your headlights back on. You can just put it back to where you take it out. You need to re-insert the screws, wrench them until you firmly the headlights to your car.

There is a faster way to solve this problem, you can use a hairdryer, turn it on and point right at the condensed area to get rid of all the moisture. But this is not a good way because the hairdryer can damage your headlight mask which is made of plastic

condesated headlights

A hairdryer can quickly solve the moisture problem but will damage your headlights

It is maybe a little surprising to say this, but your headlights must have moisture. Most of them always have some holes on to release the heat caused by the light. If headlights are completely closed, they will blow up someday.

Read more tips and guides from IndianAuto

Tracking icon
Would you like to receive notifications with latest news and car deals from IndianAuto?