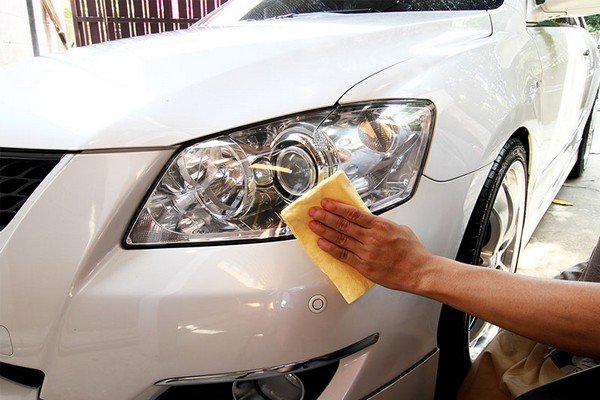
How to restore headlights in five simple steps

by Vivaan Khatri | 20/08/2018
Share this post:
The headlight is one of the most essential parts of the car. Believe it or not! Your life sometimes depends on it. The more important it is, the more care it needs because condensation can affect the quality of the light inside. Due to that reason, car owners must know how to restore it.

Headlight’s main purpose is to illuminate the road your car is driving on at night. Besides, it can also be used as a signal whenever you want to overtake the other vehicles. Another side benefit is that it also increases the beauty of your car’s front end. For all those reasons, you should regularly check your headlights to make sure they are still in good condition. 

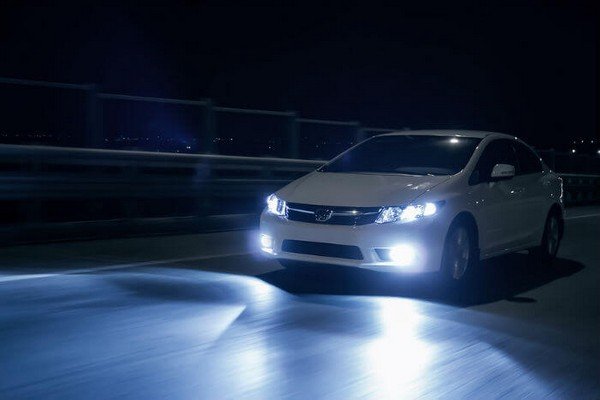
car driving at night with light on

Blurry headlight could be a potential risk

Two parts of the headlight that can usually be damaged are the bulb and the plastic cover. So, we need to know when to fix either of them. I would recommend you look through some signs of bulb failures.

  • Blinking light: This is when the light is sort of shaky. Maybe it is because the wire doesn’t entirely connect to the battery.

  • The light is too bright: The plastic cover of the light can be damaged because of the released heat. 

  • The light is too low: Check your battery to know if it is running out or not.

  • The light decides not to wake up: Your headlight gets sick of this world and kills itself by overheating. Don’t fix, replace it with a new one.

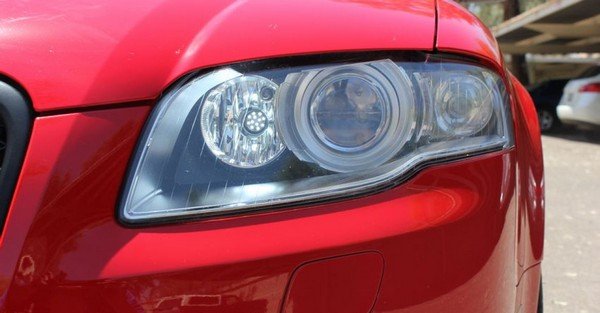
headlight of red car

Sometimes, the bulb can act up and make it hard for you

As you had read, bulb issues seem easy to handle. However, the plastic cover is going to be a challenge for amateur owners. Actually, restoring headlight is not that hard and this article will show you how to do it once and for all. That’s right, your car’s headlight will be cleaned for a long time. 

There are some tools that you need to prepare first:

  • UV-resistant spray

  • Isopropyl or rubbing alcohol

  • Water spray

  • Sandpaper

  • Duct tape

  • Garbage bag

  • A pair of scissors

  • Paper towel and microfiber cloth

  • RV wax

After you gather the necessary stuff, you can get to work. Follow these steps and your headlight will shine bright like a diamond:

Step 1: Don’t make it worse

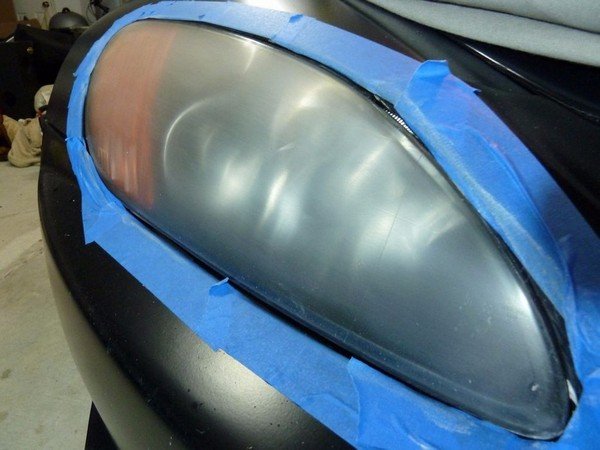
Obviously, you want to fix the headlight, so just focus on the headlight. You need to use duct tape and cover around the frame of the light in order to avoid scratching the car’s body paint. You should apply 2 or 3 layers and a sufficient range of tape to make sure you don’t touch the unnecessary areas.  

covering headlight with duct tape

Put duct tape around the frame of headlights

Step 2: Sand it as good as you can

This step requires the flexibility of your hands. You have to sand and spray alternately. I recommend you have 2 types of sandpaper: 400-grit and 2000-grit, and a water spray. First, you need to make it a little slippier with some water before applying the 400-grit sandpaper. You keep on spraying and sanding circularly and then, horizontally. Keep in mind that you should gently sand the surface and be careful not to scratch the cover. This step should last about 2 to 3 minutes.

Step 3: Clean it like you mean it

Once you’ve done sanding, keep on spraying water to clean all the sanded-off plastic, then dry it with a paper towel. You shouldn’t use tissue because it can leave paper dust behind. It is highly recommended that you sand once again, this time, with 2000-grit sandpaper to make the surface even brighter. Afterward, re-spray and clean it with a dry paper towel. Please don’t wipe too hard, just some gentle touches to absorb the water is fine.

When the headlight is completely dry up, it’s time to wash away the remaining grease that water can’t handle. Pouring out some rubbing alcohol onto a clean cloth and rubbing it on the surface until everything is clean.

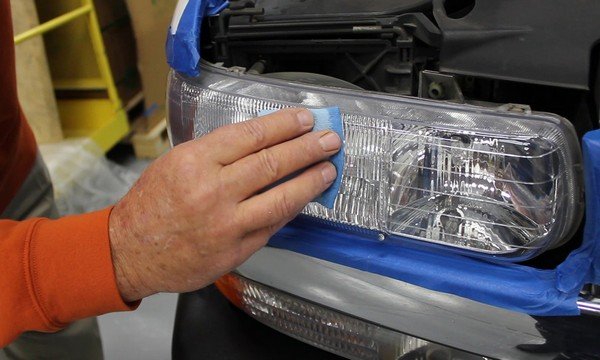
wipe headlight with wipe paper

Use a paper towel to wipe because it won’t leave paper dust

Step 4: Spray and wait

Just like step 1, you don’t want this solution to spread everywhere. First thing first, you should use the garbage bag to cover bonnet, bumper, etc so as to prevent them from being damaged. After that, you now start spraying the UV-resistant onto the plastic surface. This step may take the longest time to finish because you need to repeat from 3 to 4 times. Between the spraying process, don’t forget to take a 5-minute break between each time.

When the process is done, you need to wait a day until the UV-resistant layers dry up. Only then, you can take the duct tape and garbage bags out. 

Step 5: Wax on, wax off

Now, it’s about time to shine that light. You need to use a suitable RV wax to rub on your headlight. Usually, a good choice is an appropriate one, which means that you should spend money on buying the good RV wax which is available on the market. Afterward, put some wax on a microfiber cloth and gently rub it on the plastic cover. You need to wait for 1 or 2 minutes then use a clean paper towel to wipe it out. Done! Your headlight must be shiny and bright by now!

waxing headlight with soft clothes

Apply the wax carefully after the RV-resistance has settled

Read more tips and guides from IndianAuto:

Tracking icon
Would you like to receive notifications with latest news and car deals from IndianAuto?