How To Repair Leather Car Seats By Yourself?

by IndianAuto Team | 06/04/2019
Share this post:
The holes, cracks, or tears on your leather car seats are not aesthetic and sometimes they give you discomfort. Check out this article to find methods of solving these problems.

Many people prefer leather car seats over fabric ones due to numerous reasons. Firstly, leather seat covers are considered classier, more attractive, and more luxurious car’s interior over cloth upholstery. Secondly, leather seats are easier to maintain than their fabric rivals; wiping spills away is just a piece of cake and dirt can be simply removed with a soft brush. Thirdly, leather upholstery has a long lifespan due to its durableness.

However, when being exposed under high temperature, leather seats would wear out faster depending on how long the exposure is. Moreover, at the time leather seats get torn regardless of time, weather conditions, or bad maintenance, fixing will need a lot of efforts and carefulness; therefore, some people choose to purchase new ones. Nevertheless, there are methods to save money on fixing your broken leather seats, and, luckily, you can find them in this article!

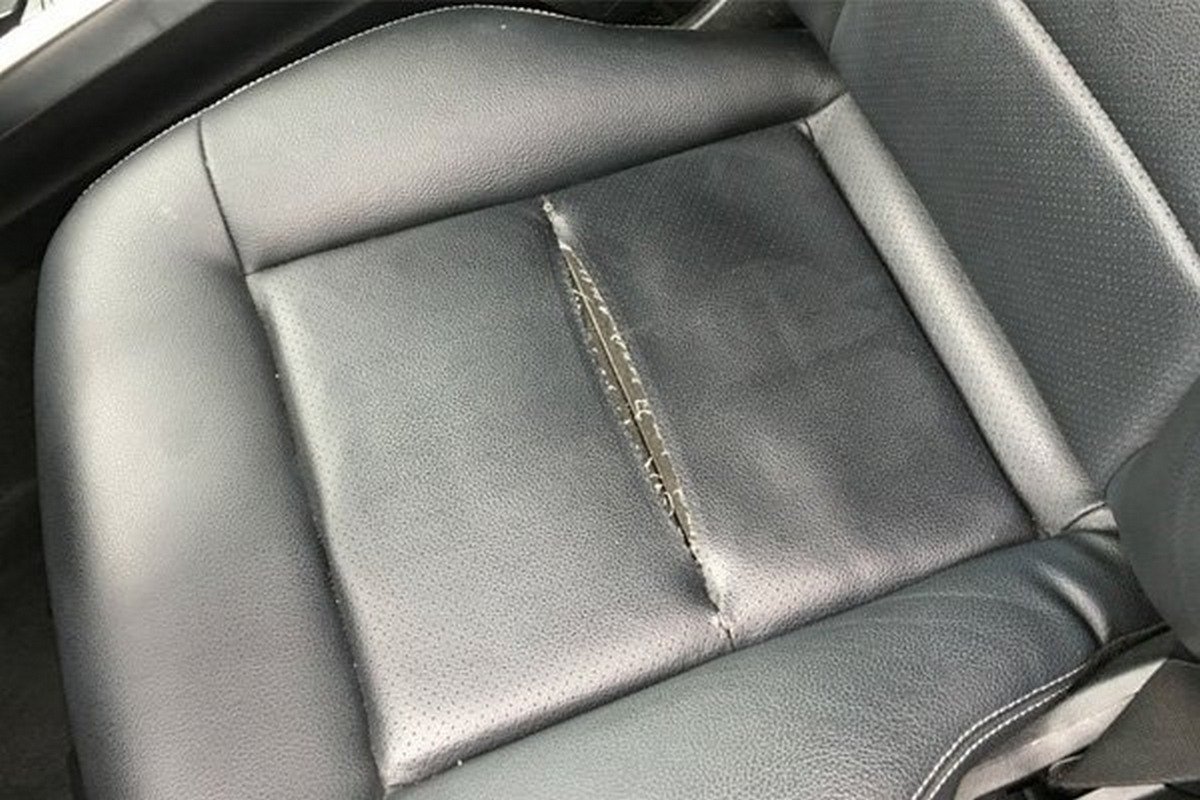
torn leather car seat

After years of using, a leather seat can be damaged easily

DIY Guide: Repair Your Leather Seats

Keep in my that before applying any fixing method, you have to clean the seats to remove the dirt, spills, stains, etc. IndianAutos has already introduced ways to clean fabric as well as leather car seats, click here to get more details.

1. Using a repair toolkit

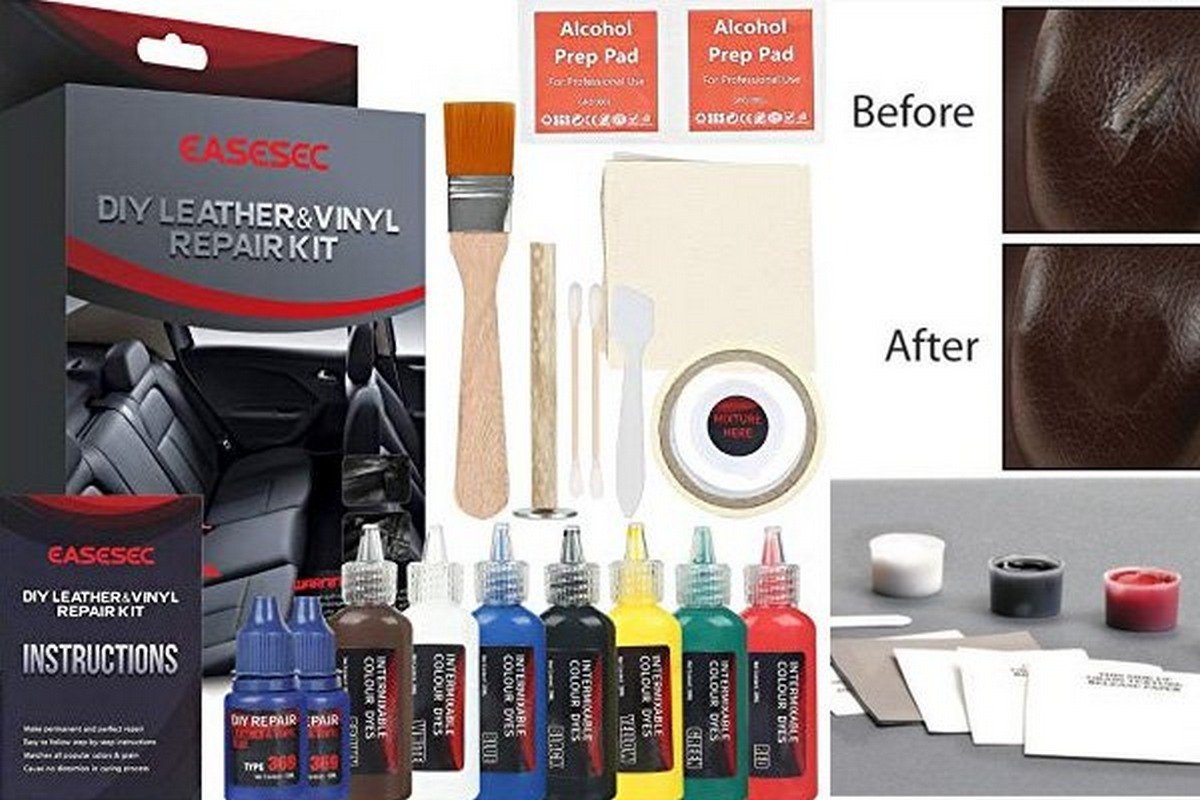
leather repair kit

This is an ideal leather repair kit

ALSO READ

How to Repair/Replace A Broken Car Central Locking System

Step 1: Choose the right toolkit for your leather seats

It is always best if you can find a toolkit made by your car’s manufacturer. Otherwise, just compare several ones and choose the most appropriate one depending on your need and pocket.

Step 2: Clean your seats

As mentioned earlier, this step is very important as it affects greatly on how nice the result will be. For example, if there is a little dust or sand when you are applying patches, the new surface will be rough and not neat.

Step 3: Trim ragged edges

Check out the torn parts and if there are any clumsy ragged edges, grab a scissor to get rid of them. This step will make it easier for the rest of this procedure.

Step 4: Glue backing cloth under the tear

Put a backing cloth piece under the torn part and apply a sufficient amount of glue onto the sides of the tear to allow them to stick firmly to the backing cloth. Leave it there and let the glue dry completely.

Step 5: Apply distinct layers of repair filler

Palette knife is a good choice to apply the filler. Spread a filler layer onto the glued backing cloth and wait for it to dry then you can apply another one. Repeat until you find it can cover the damaged areas or when it a bit overlaps the leather upholstery.

Step 6: Sand the filler

At the time the last layer of leather filler completely dries, use sandpaper to flatten the surface so that it can be even with the leather upholstery. However, be careful when sanding because you don’t want to damage the leather around. If possible, replace sandpaper with a sanding block by which you can have more control. After sanding, simply remove any debris with a damp cloth and let the area dry before move on the next step.

Step 7: Apply colour

Use a cloth or a cotton swab to apply colour onto the filler. If the colour is too pale, you may need to apply several layers; however, keep in mind that you have to wait for a layer to dry before continuing to apply another.

Step 8: Use leather sealant to coat the area

Almost done! Your leather car seats will look like new after this step! Grab a clean cloth and leather sealant to cover the repaired area. This helps prevent the colour from fading; and don’t rush to sit immediately, instead, let the sealant dry first.

2. Applying a leather patch

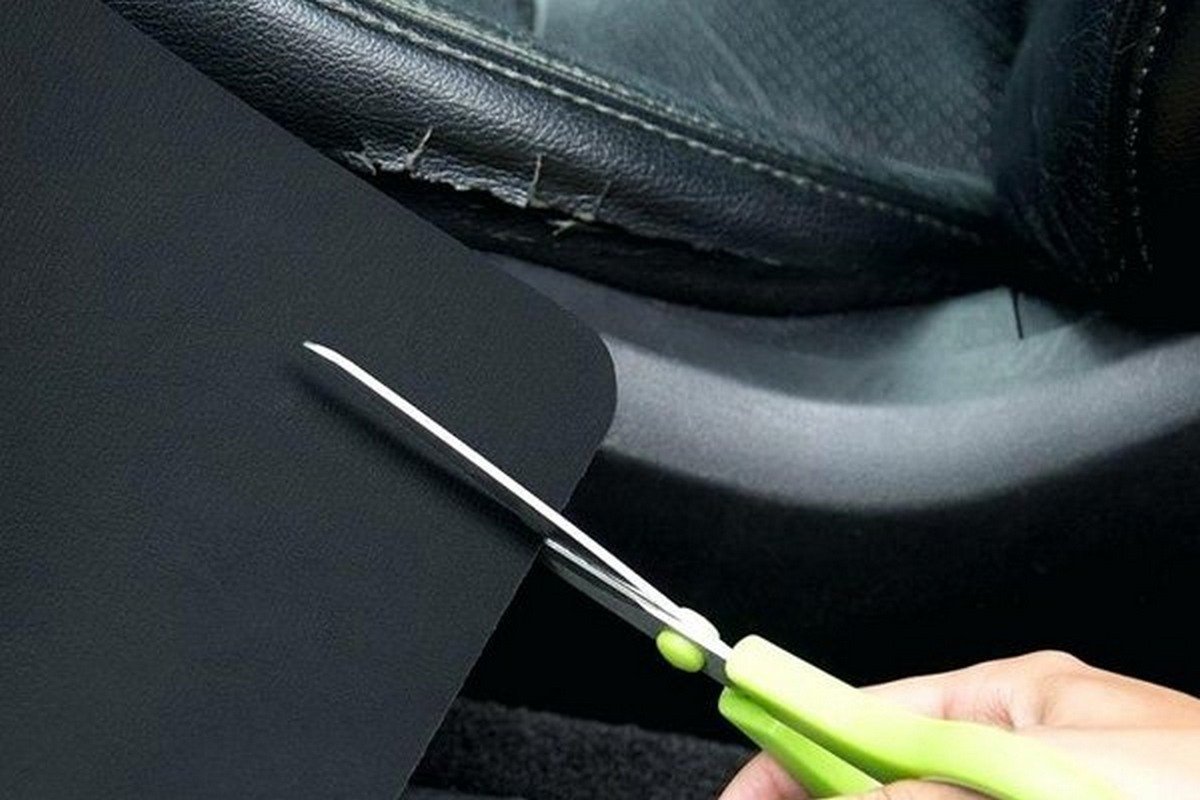
cutting leather patch

Choosing the most proper patch is the key to this method

If you don’t have a lot of time to fix your leather car seats, you can follow this method rather than the first one. However, because this is a quick solution to your upholstery issue, it cannot be as aesthetic as the previous one.

Step 1: Find a proper patch

When purchasing any upholstery, there will be a pack of extra swatches attached. Those swatches are as exactly similar to the leather upholstery, so they are perfect patches. Nevertheless, if you cannot find even one, just simply choose a leather that is quite similar to upholstery.

Step 2: Resize the patch

Cut the patch nicely so that it is slightly larger than the torn part.

Step 3: Place a wax paper under the tear

Put a wax paper under the tear so that when you apply leather glue, the glue won’t harden the foam.

Step 4: Use leather adhesive to stick the patch

To do this correctly, apply the glue to the patch’s sides and carefully press it over the tear, then ensure it entirely covers the tear and bonds firmly to the leather upholstery. Let the glue dry, and you can use your leather car seat as usual.

3. Using liquid leather

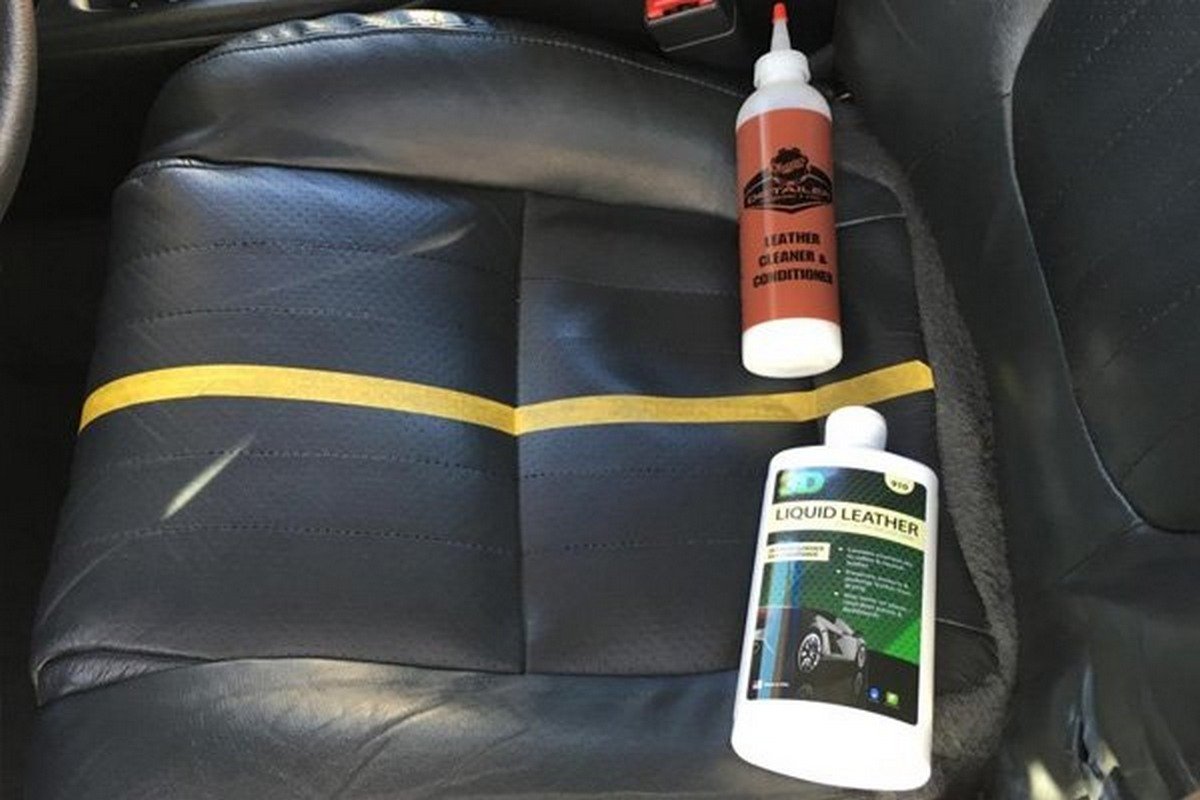
liquid leather to fix cracks on leather car seat

Liquid leather is also an effective method to fix your leather car seats

This method works well with worn out leather car seats and cracks.

Also readHow To Find The Best Car Seats For Your Kids

Step 1: Make sure you choose the right liquid leather

When buying a liquid leather, you should send a swatch of your car leather, a picture of it, or the colour code/name to the distributor so that they can give you the exact match. Before applying, test the product. If necessary, adjust the colour with the attached toner or ask for an exchange.

Step 2: Clean the seat

As stated above, this step is crucial to the result, so don't take it for granted.

Step 3: Apply the liquid leather onto the cracks and worn-out areas

Use a sponge to spread the product over the cracks, then use a damp cloth to wipe out the liquid leather on the good leather upholstery. If one layer is not enough, let it dry and apply another one.

Step 4: Apply the liquid leather all over the seat

Applying the product on the entire seat is a good way to hide the fixed areas.

Step 5: Apply leather conditioner

The last step is to coat the seat with leather conditioner by a soft cloth. This will prevent cracking from happening in the future. Once it dries, you can enjoy sitting on your “new” leather seat.

brand new leather car seats

When you finish fixing your leather car seats, they will look brand new!

With the aforementioned leather car seats fixing methods, IndianAutos hopes you can repair yours perfectly. Frequently visit our website for more helpful guides and interesting stories.

Tracking icon
Would you like to receive notifications with latest news and car deals from IndianAuto?