Easiest And Quickest Ways To Remove Car Stickers

by IndianAuto Team | 21/06/2019
Share this post:
Are you very annoyed with old car stickers or simply want to renew them? Check out the article for effective decals removal

Stickers are the best decorative accessories for any cars. However, when they are old, things change. You may face dull colour stickers or ones with a lot of scratches and want to remove them. Lucky you! There are methods to completely remove the annoying car stickers making your car like a new one.

Considering these following factors to determine how hard a sticker is:

  1. Age: Did you know that the longer your stickers are, the harder they can be removed? You can easily remove 3-months-old stickers with a plastic blade. Older car stickers need specific removal tools.

  2. Weather: Being left under the sun is a factor that makes car stickers hard to remove. Because the heat changes the molecular structure of the adhesive on the sticker and makes it bonded to the car surface.

  3. Sticker Price: Expensive stickers are easier to remove than the cheaper ones. This can be explained that expensive car stickers are made of higher grade vinyl that is more consistent and, thus, easier to get off; the lower priced stickers are usually made of inferior adhesive which is much hard to remove.

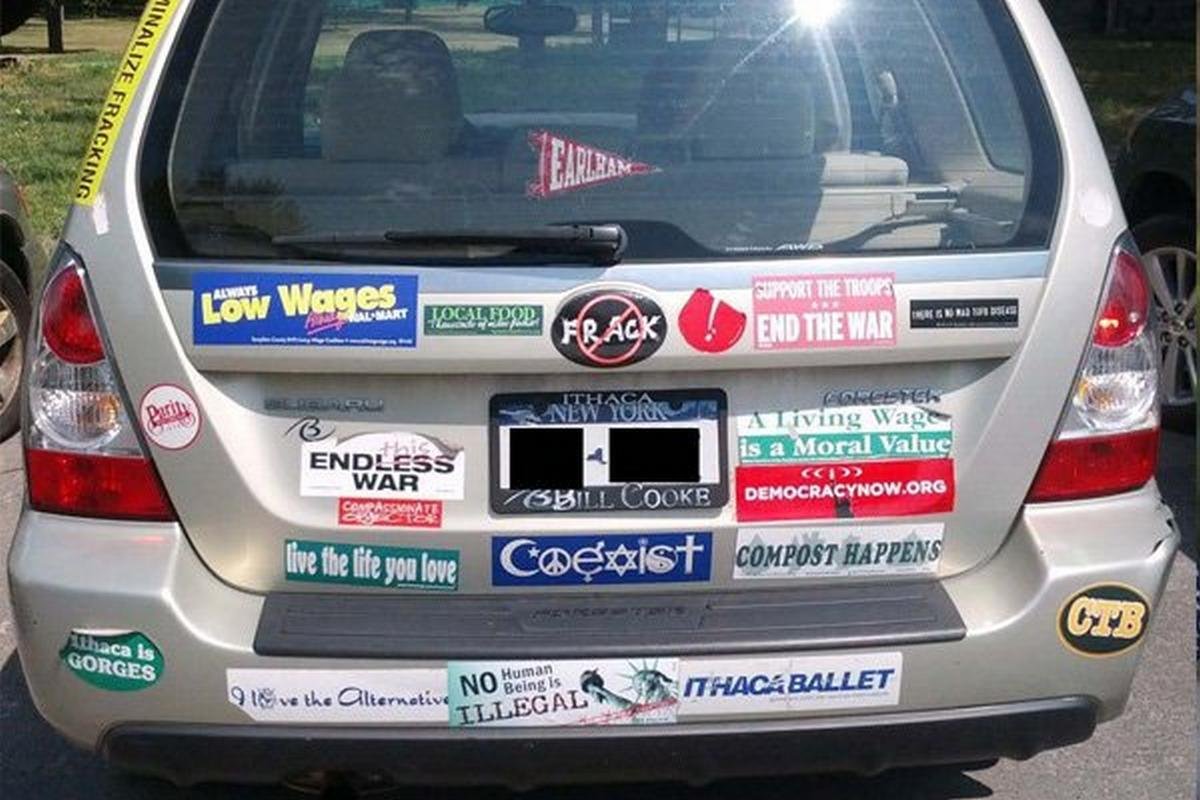
a car with a lot of stickers

a car with a lot of stickers

Then, follow these below methods to get rid of the annoying stickers!

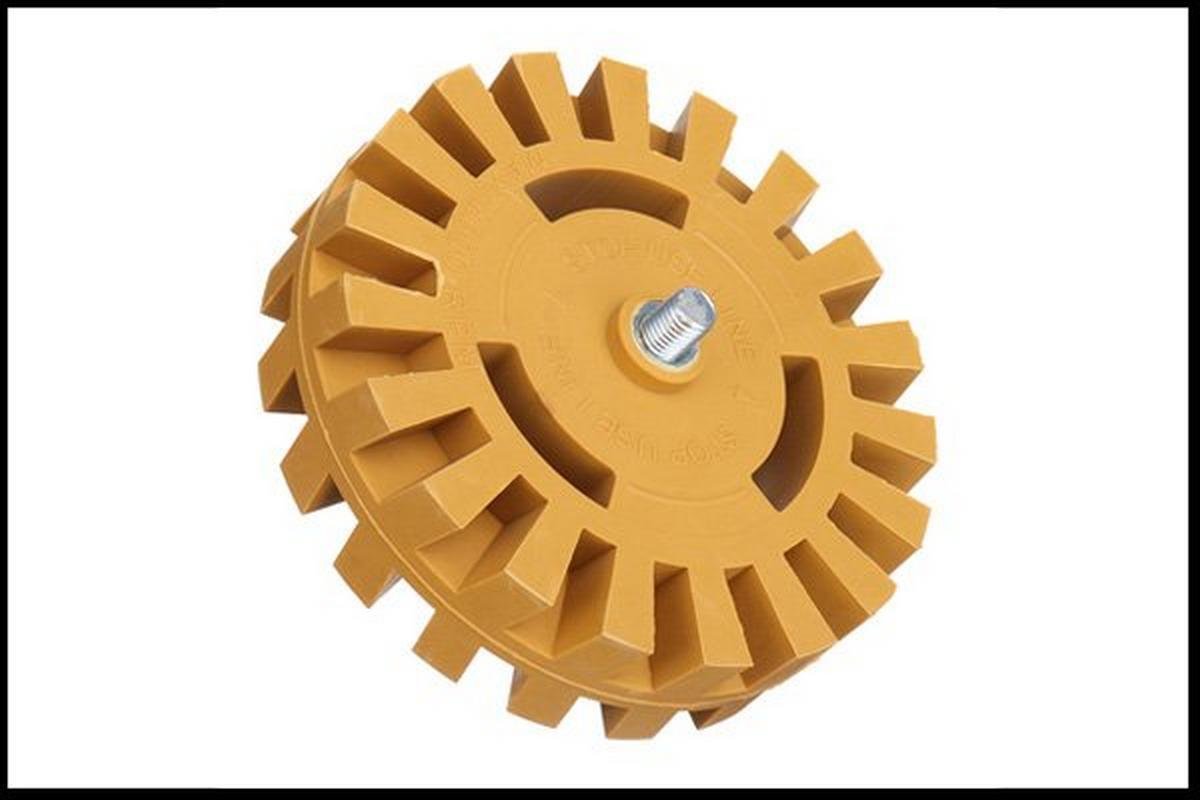
  1. Whizzy Wheel:

Made of soft rubber and aim to wear away the stickers,

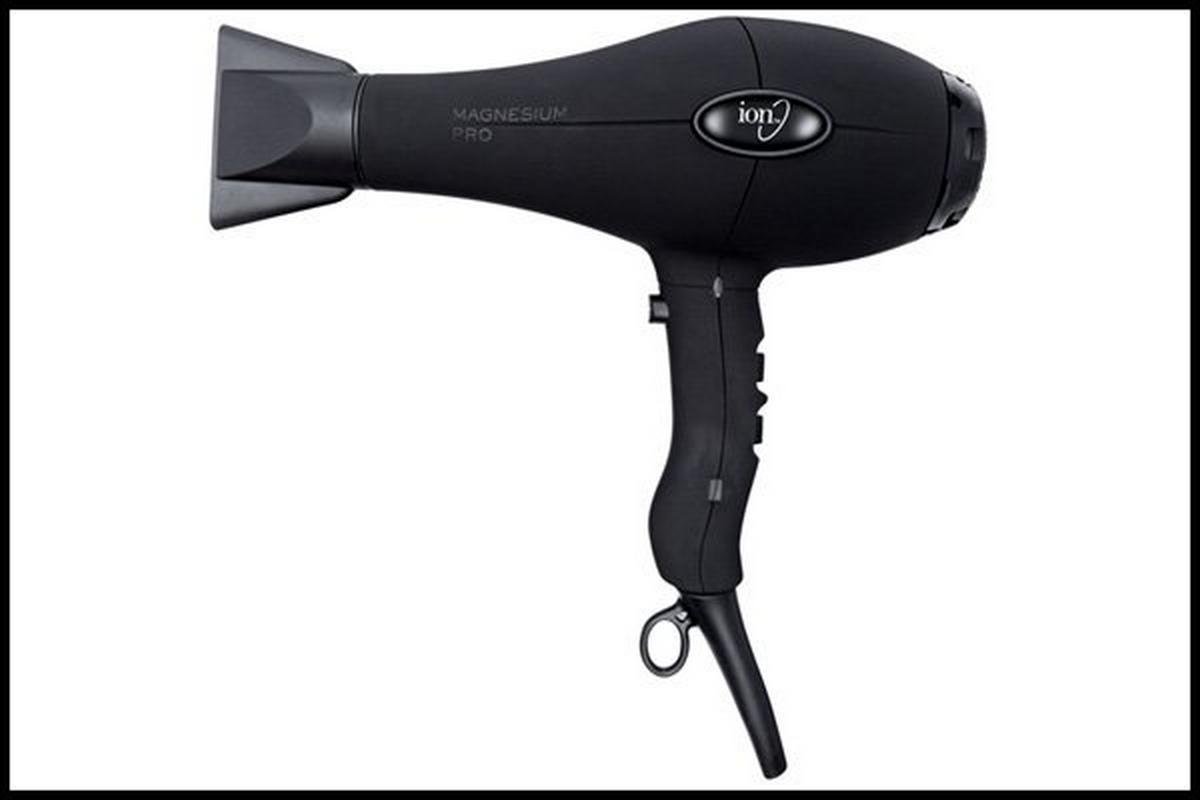
  1. Hair Dryer:

Heat the sticker to loosen the bond between it and the surface for easier removal,

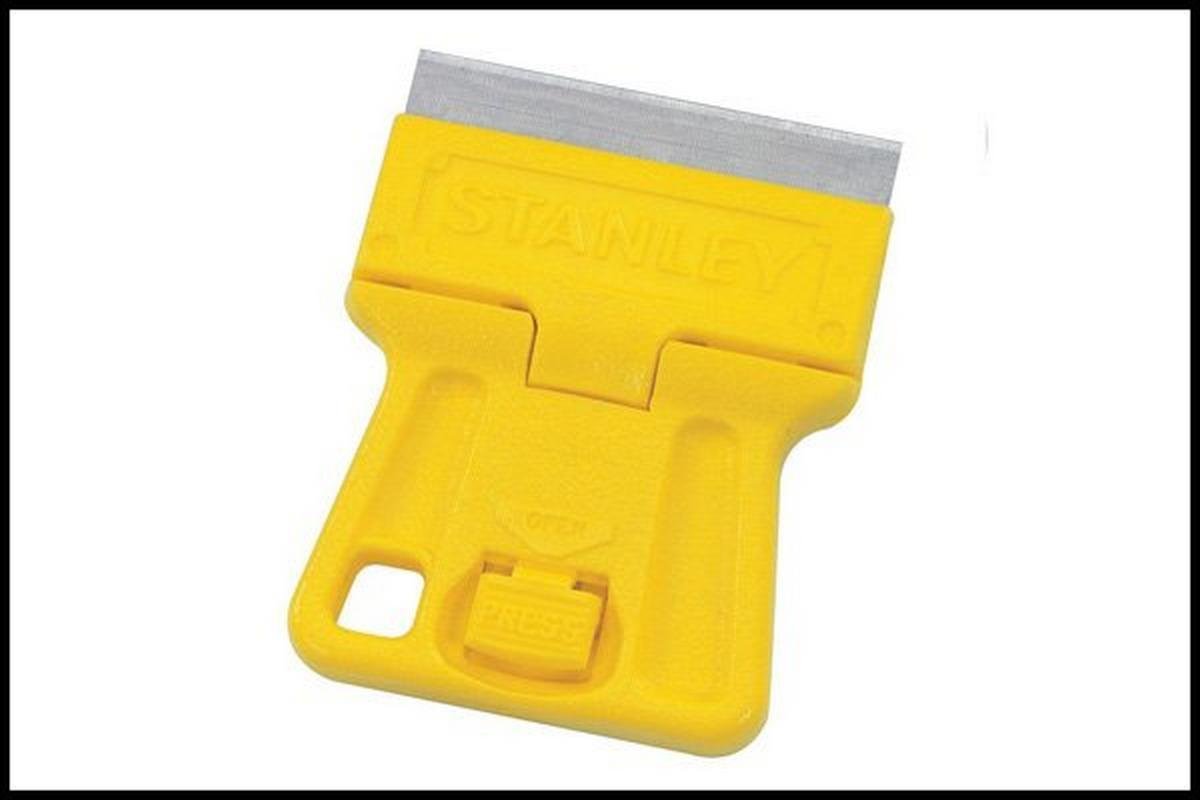
  1. Plastic Razor blade:

Gets under the sticker and peel it off

Also read - The Ultimate Car Tips For Parents With Little Kids

However, each method has its own advantages and disadvantages:

Whizzy Wheel:

  • Pros:

    • Outdone for large-sized car stickers

    • The best option for car stickers heated under the sun

    • Not harm to Factory Finished painted surfaces

  • Con’s:

  • Requires a standard home drill to operate

  • Incompatible with plastic surfaces

Whizzy wheel

Using Whizzy wheel for large stickers is a great idea

Hair Dryer:

  • Pros:

    • Works excellently with new decals

    • Costs nothing except electricity if you have a hairdryer at home

  • Cons:

  • Not functions really well on old baked decals

  • Slow when operating on large surfaces

Hair dryer to remove car stickers

Hairdryer costs nothing if you have one

Plastic Razor Blade

  • Pros:

    • Overdone on plastic or wooden surfaces

    • Best for small areas

  • Con’s:

  • Not function on old baked decals

  • Very slow when operating on large surfaces

Using plastic razor plate to remove car stickers

Using a plastic razor plate to remove car stickers

Whizzy Wheel

  • Step 1

Unpack your Whizzy Wheel.

  • Step 2

Install the Whizzy Wheel on your available home drill by using the arbour supplied.

  • Step 3

Place the Whizzy Wheel on the surface of any decal, sticker, or vinyl* and turn on the drill.

*Whizzy Wheel can be used on up-to-55-year-old stickers

  • Step 4

Hold your drill steadily and move along the surface that needs removal. You will soon have a smooth and sticker free surface.

When the car stickers are removed, the whizzy wheel will wear out and there will be rubber dust on the car’s surface. You just need to flick off this dust away and there will be no trace of sticker left!

Also readEight Tips For Keeping Your Car Cool In The Summer

Hair Dryer

  • Step 1

Take (or buy if you don’t have one) your hairdryer and plug it in

  • Step 2

Turn the Hair Dryer on with max productivity!

  • Step 3

Place your hairdryer about 7 – 12 centimetres away from the car sticker and move it back and forth

  • Step 4

With the help of a plastic blade (like your ATM card), peel the car sticker off the surface

Note:

*Be careful when taking the car sticker as it can get very hot.

** Use a plastic blade together with a hairdryer for best efficiency

Plastic Razor Blade

  • Step 1

Get the sharpest plastic blade for the best result

  • Step 2

Place the blade under the sticker, start from its edges

  • Step 3

Slowly move the blade under the car sticker and peel it off backwards

*The plastic razor blade does not function well on old stickers because they are usually attached tightly to the surface. Plastic razor blade functions best on wooden or plastic surfaces.

carefully remove car stickers

a person is carefully removing a car sticker

Also read Fix Your Sunroof With 5 Awesome DIY Tips

Things to keep in mind about car stickers removal

1. NOT TO USE A METAL RAZOR Blade on painted surfaces because

  • You can easily cut yourself

  • You can easily damage the painted surface of your car

2. The painted surface around the car sticker may have faded. Therefore, whenever you remove the sticker, the painted surface underneath will look brighter.

3. When removing very old car stickers, adhesives can be left on the surface. Try to spend more time removing them as dust and dirt will stick to the surface and make your car look very dirty.

Read more Tips and Guides from IndianAuto

Tracking icon
Would you like to receive notifications with latest news and car deals from IndianAuto?